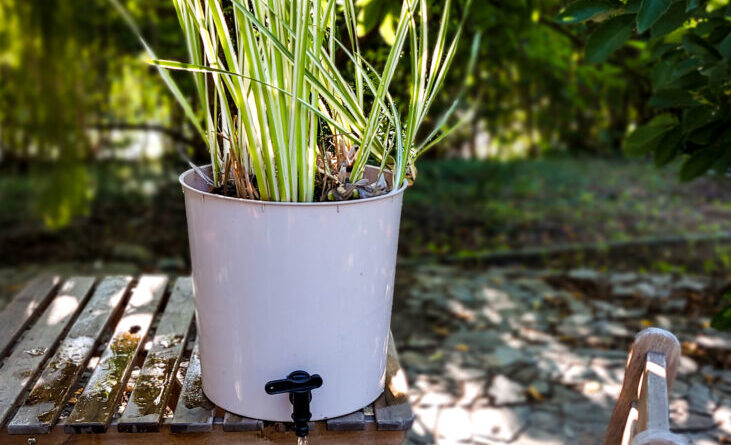


Today we will show you how to make a MINI rain garden in a container that you can put on the balcony. Our rain garden, thanks to biological filtration layers, will act as a natural water filter. You can use the filtered water to water your houseplants.
We will create our small rainwater tank to collect excess rainwater that arises as a result of violent weather phenomena. Later, when there is a rainless period, we will be able to use the collected water to water house plants. Unlike classic rain gardens, our small version will work in difficult urban conditions, where digging a retention water tank is impossible. He is mobile.
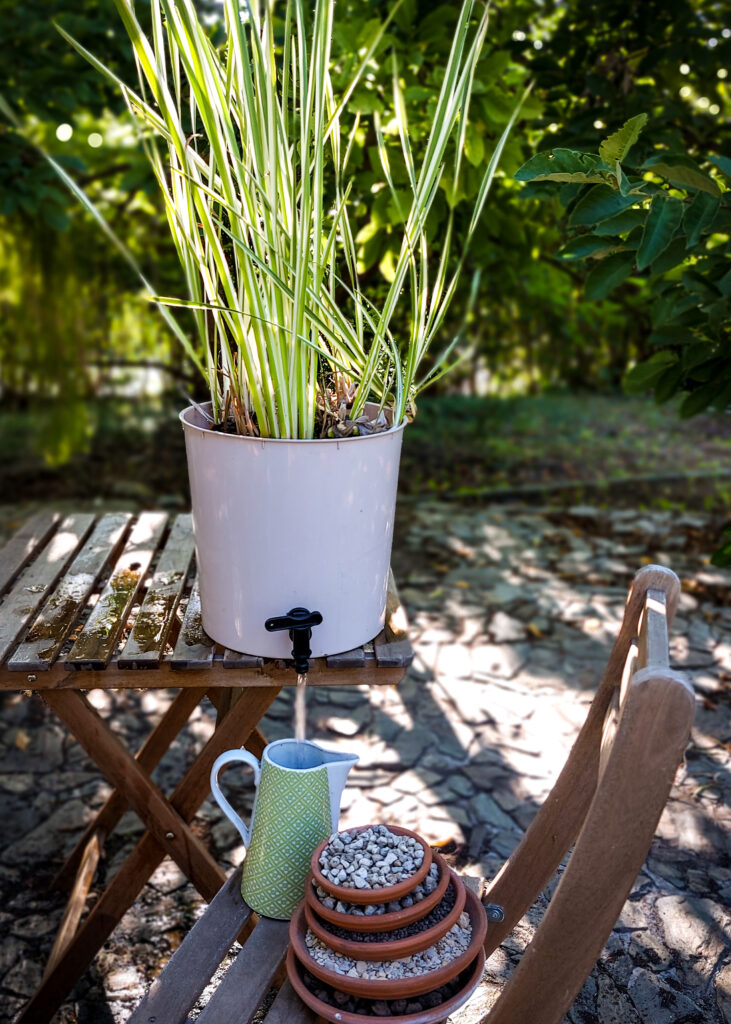
We can adjust the size to the conditions we have, so:
In this tutorial we will show you how to make a MINI version for a balcony. For this we will use a container (an old bucket) and a tap (recycled, from an old rainwater container or juice).
container (can be an old bucket)
tap (recycled)
different types of gravel and substrate (biological filtration layers)
plants (adapted to wetlands)
a screwdriver with a drill or a soldering iron or a knife (to cut out the container opening).
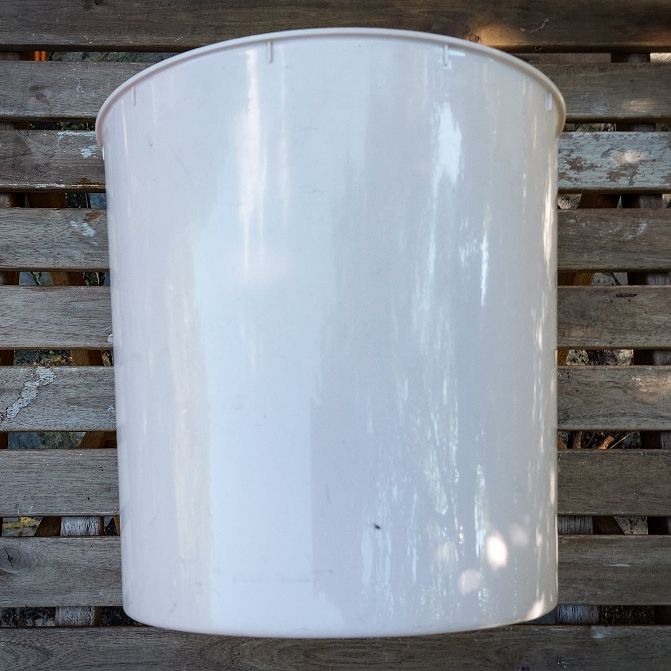
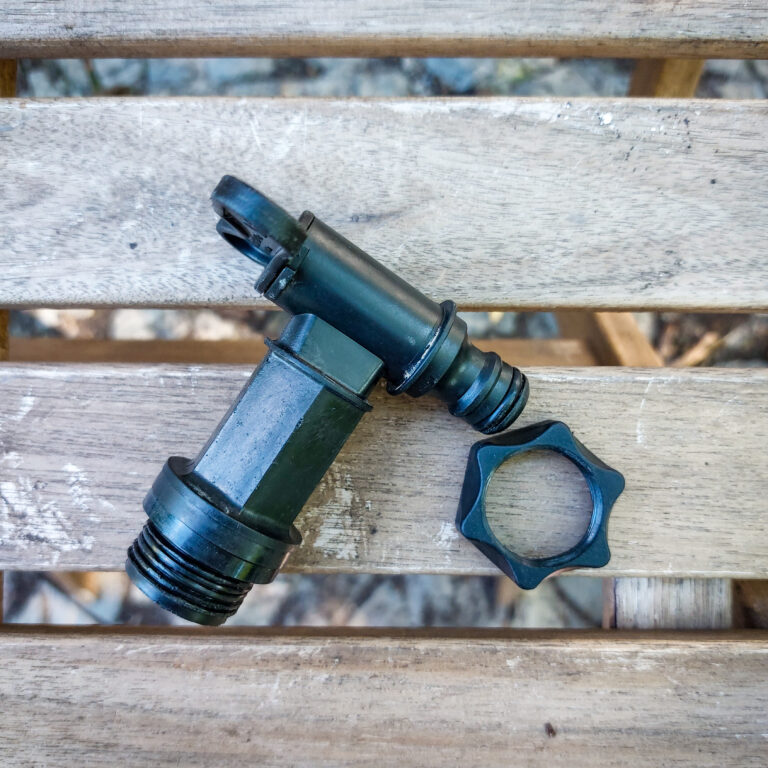
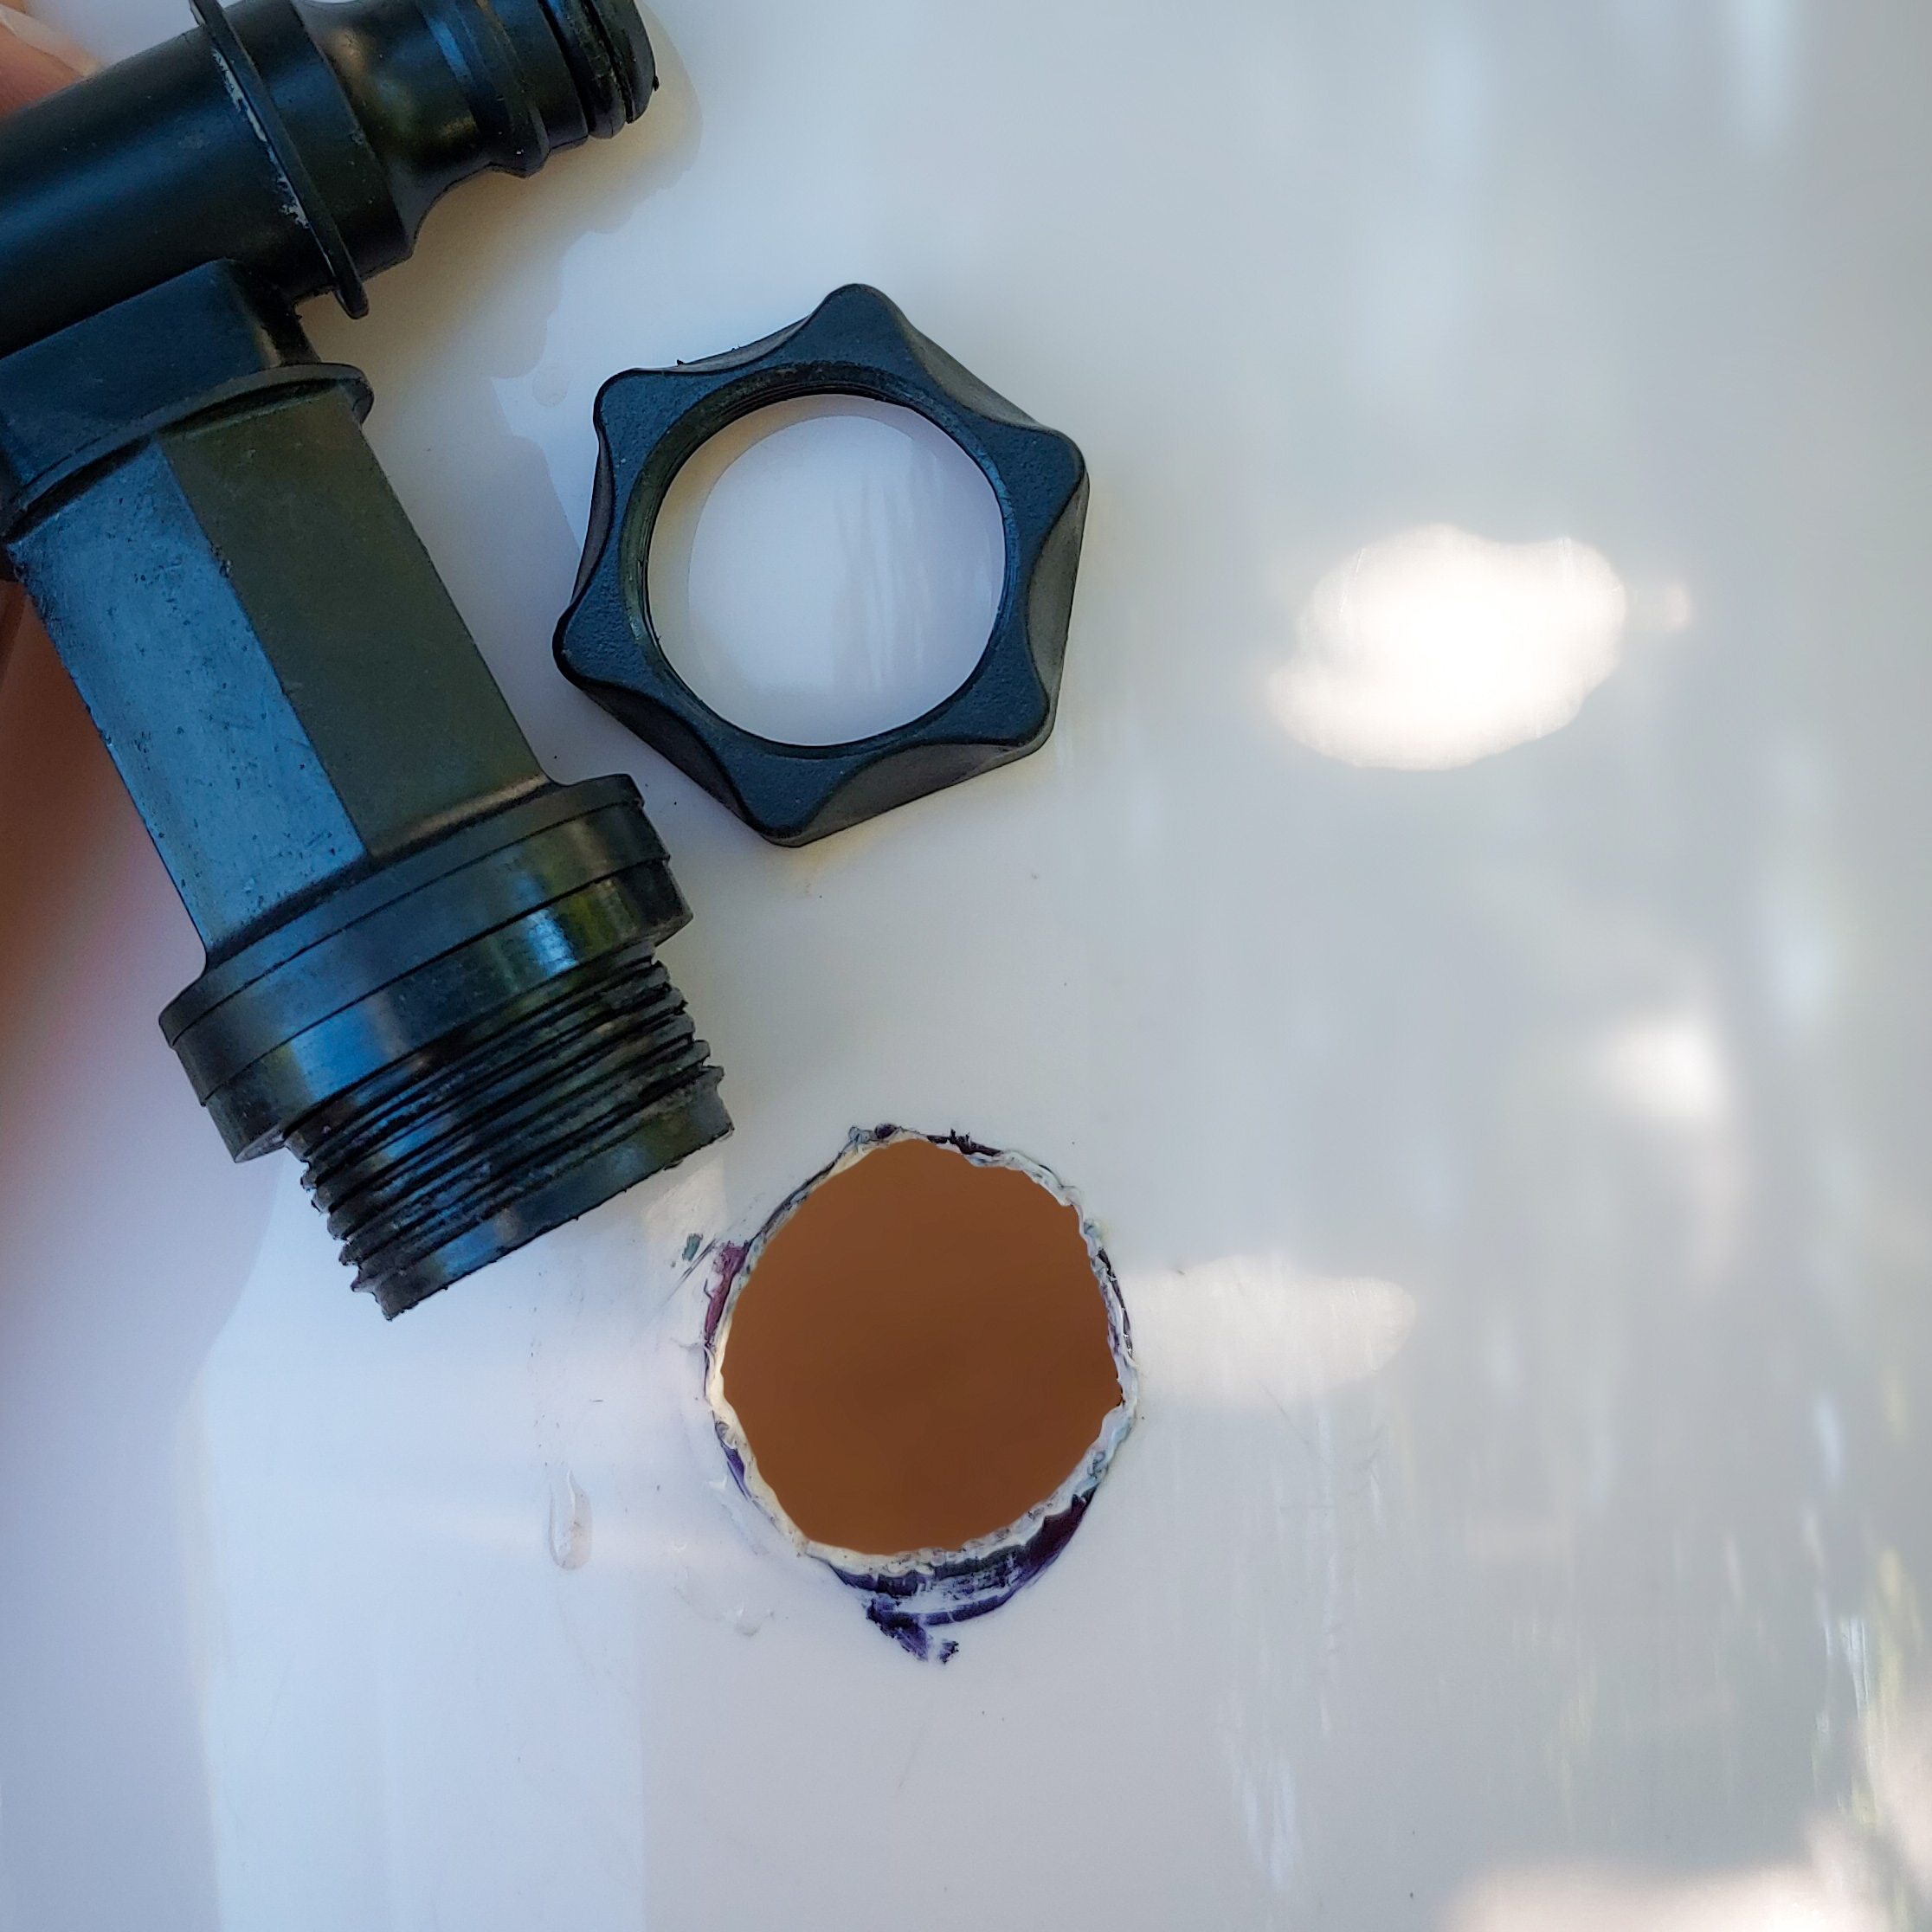
Using a screwdriver or soldering iron, we make a hole to fit our faucet. If the container is made of very soft plastic, you can cut the hole with a knife or scissors.
Then we screw in our tap and pour water to check if anything is leaking. If water comes out of the leak, add a gasket.
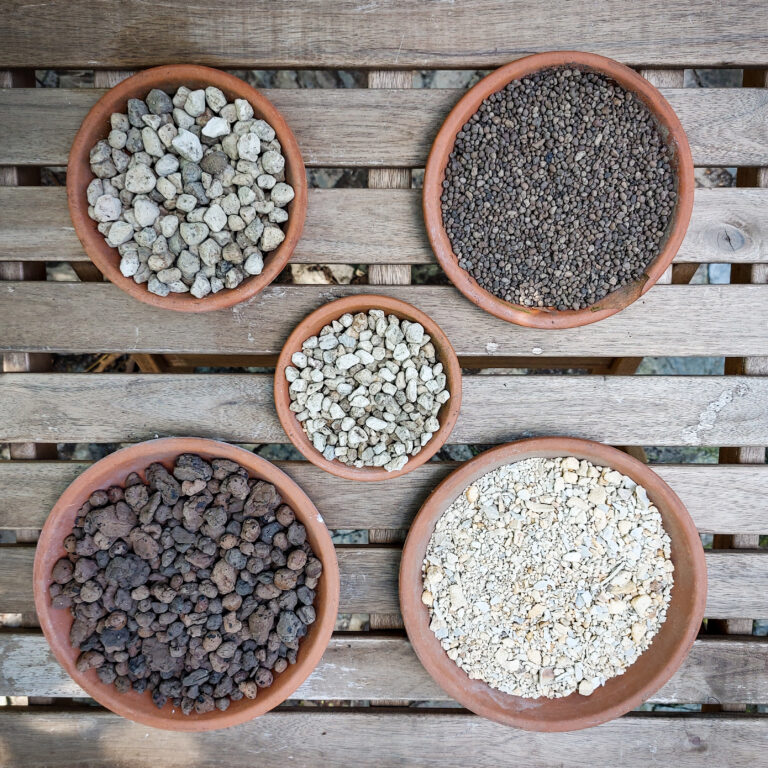
Now it’s time for our filtration layer. The more different types of substrate we have, the better. The best will be pumice and expanded clay of various gradations. Coarse sand and fine gravel are fine. To completely filter the water, it will be ideal to add activated carbon. Let’s also not forget about a layer of soil for our plant.
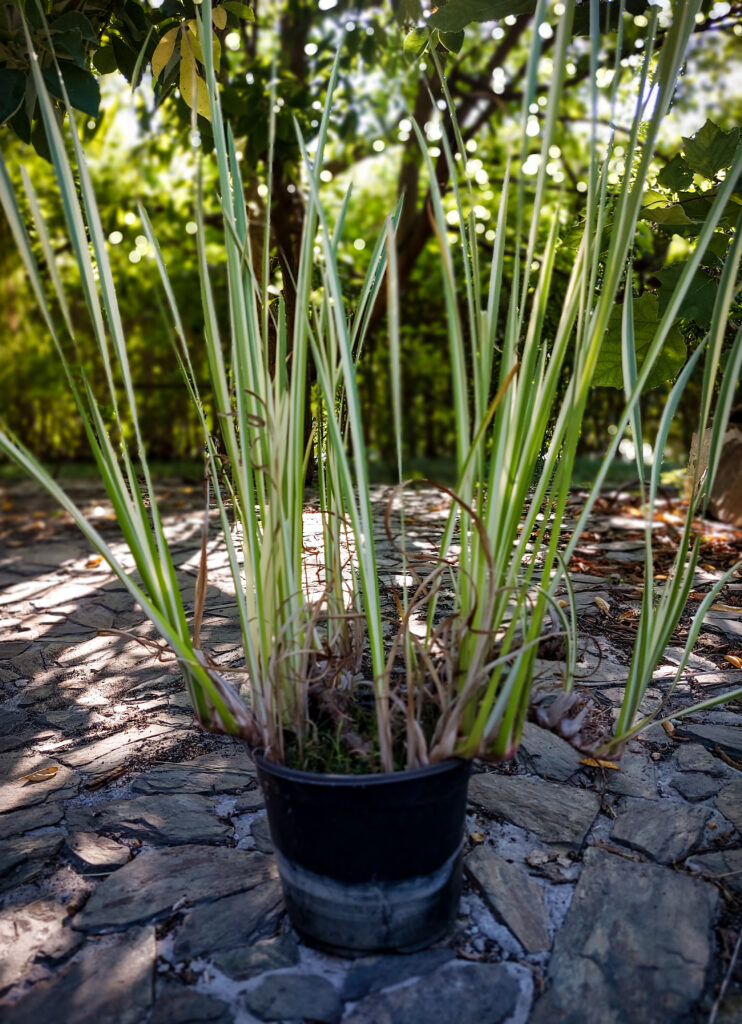
The plant must like water. We chose calamus in the variegata variety. It is a plant of wetlands, very resistant to difficult conditions, and melliferous.
Layers are arranged from the coarsest fractions at the top to the finest at the bottom or alternately from the top, e.g. coarse pumice, fine pumice, coarse expanded clay, washed gravel, coarse sand. At the very top, a layer of earth with our plant. The whole is covered with thicker expanded clay, gravel or pumice. Remember that you don’t have to give every type of substrate, gravel, expanded clay and sand are enough. Make sure that no sand gets into the faucet. The lower layer can be made of a thicker fraction or the mouth can be additionally secured with a mesh.
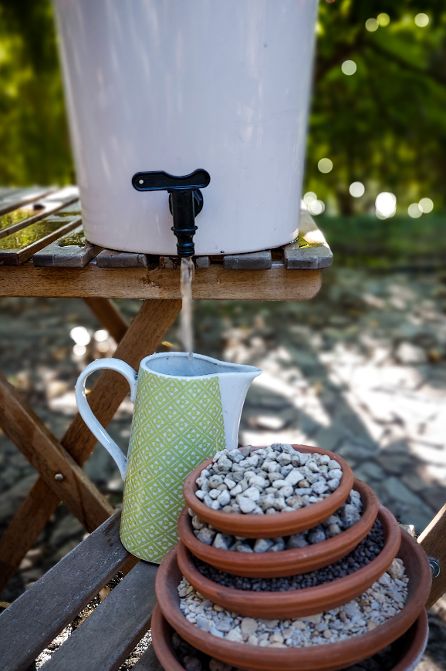
Now we wait for rain or pour the entire container with water. In the second case, our container will act as a biological water filter for our home plants.